How to perform a due-diligence check
Pick a customer, fill in the check’s documents one by one, and save a draft if you will finish later.
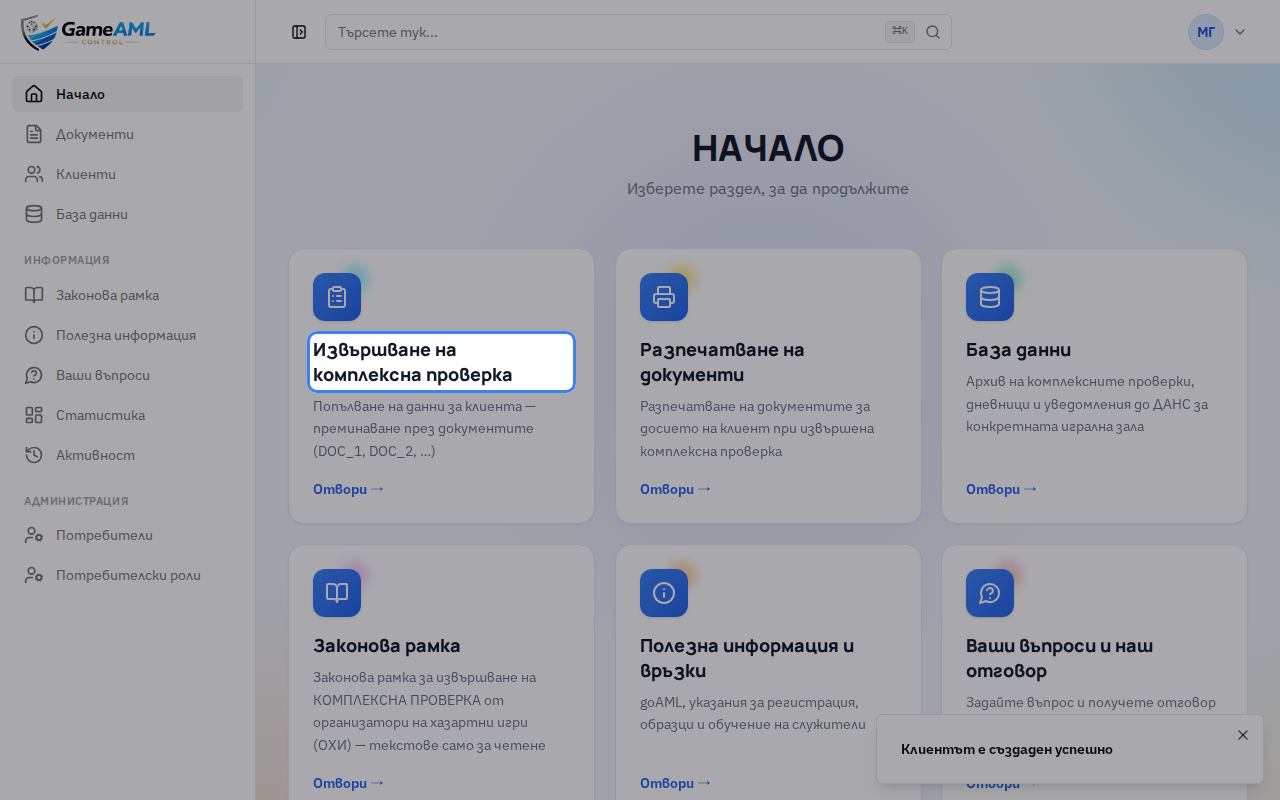
1On the home screen, choose “Извършване на комплексна проверка” (Perform a due-diligence check).
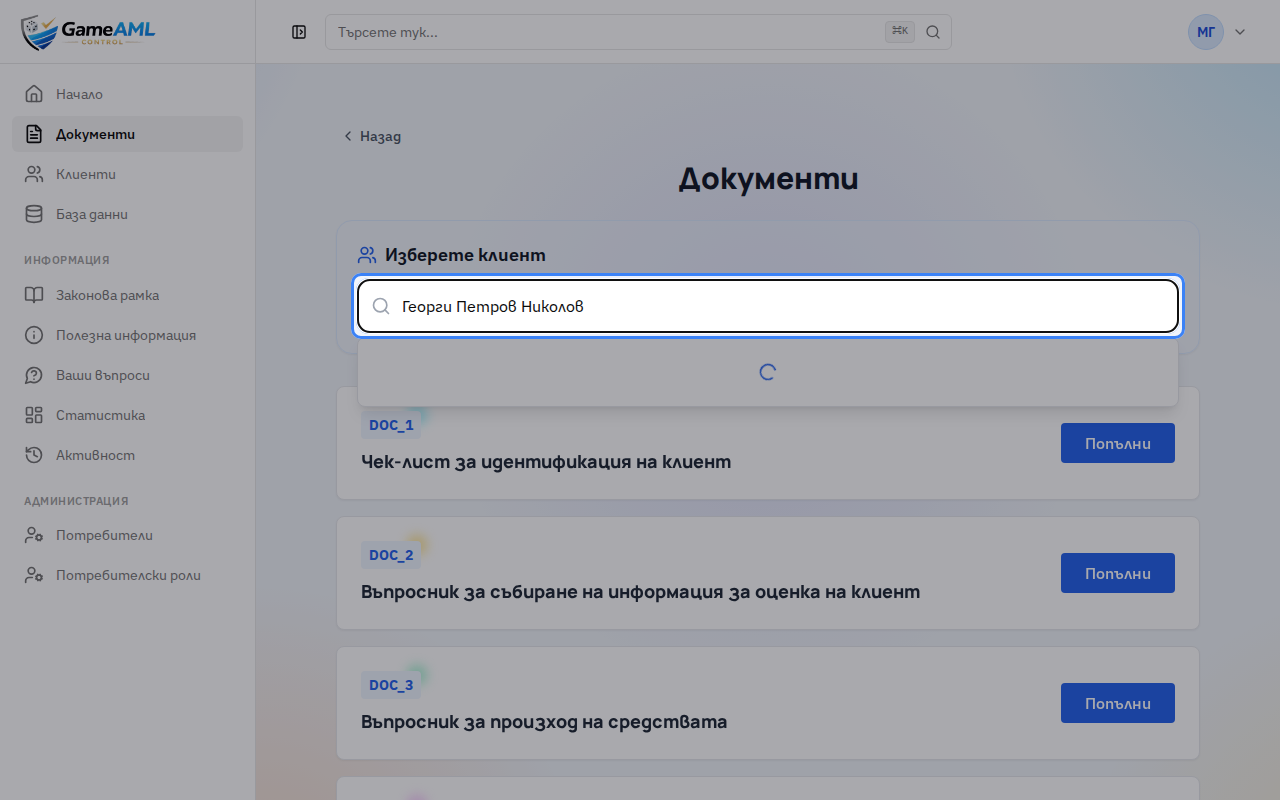
2Search for the customer by name or ЕГН.
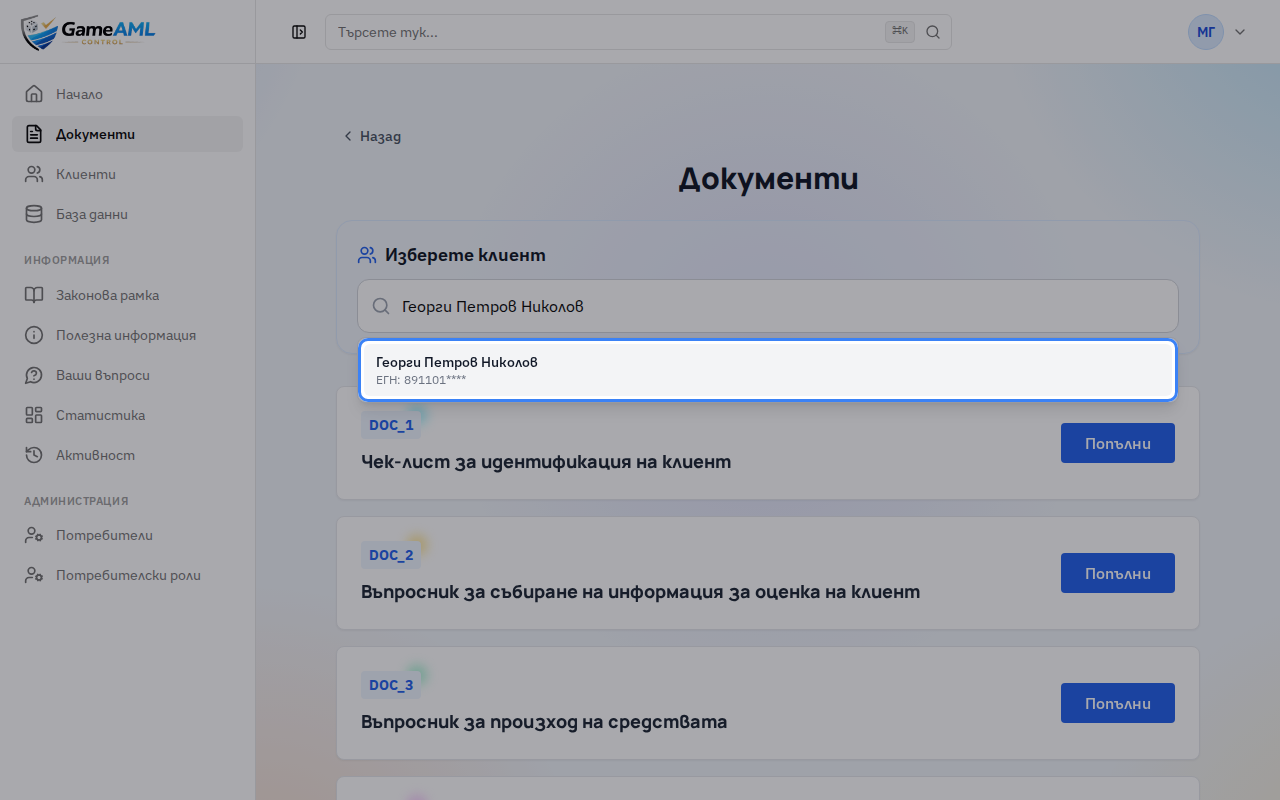
3Choose the customer from the results.
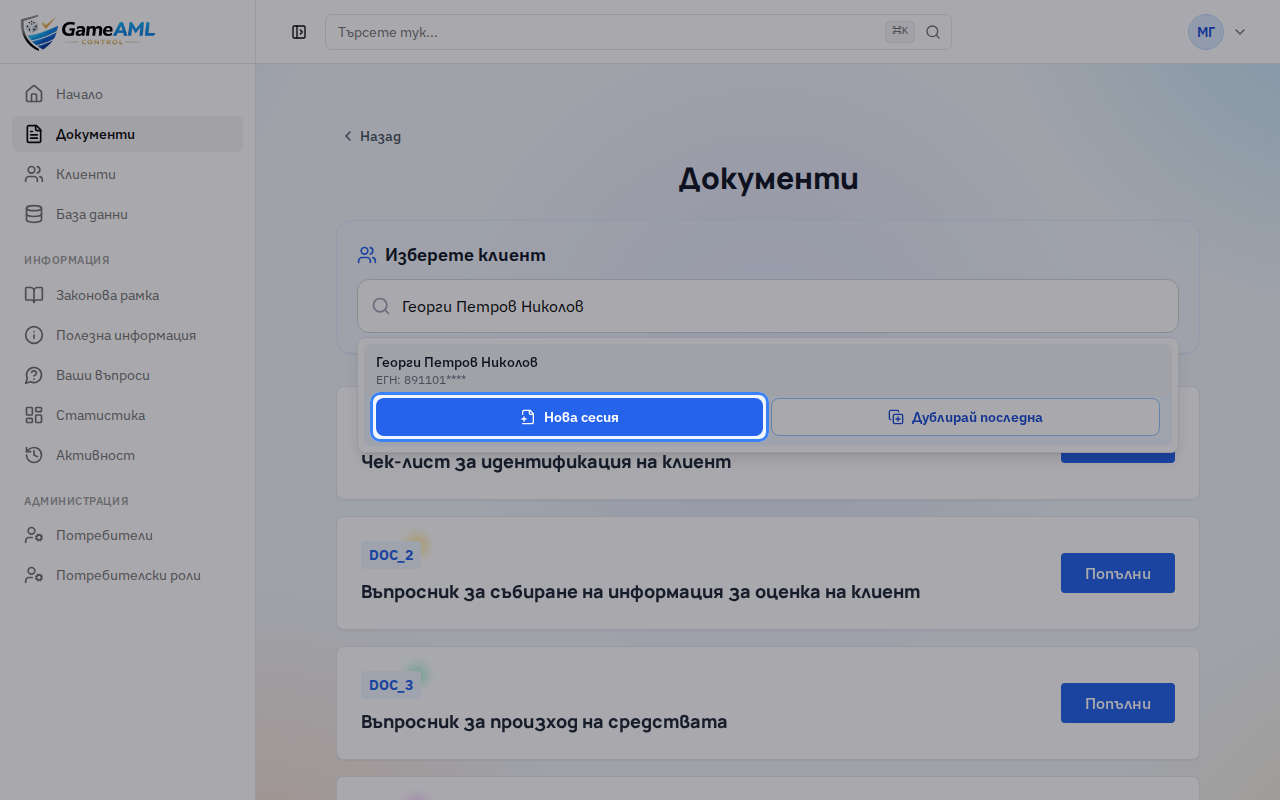
4Click “Нова сесия” (New session) to start a new check. “Дублирай последна” (Duplicate last) copies the customer’s previous check.
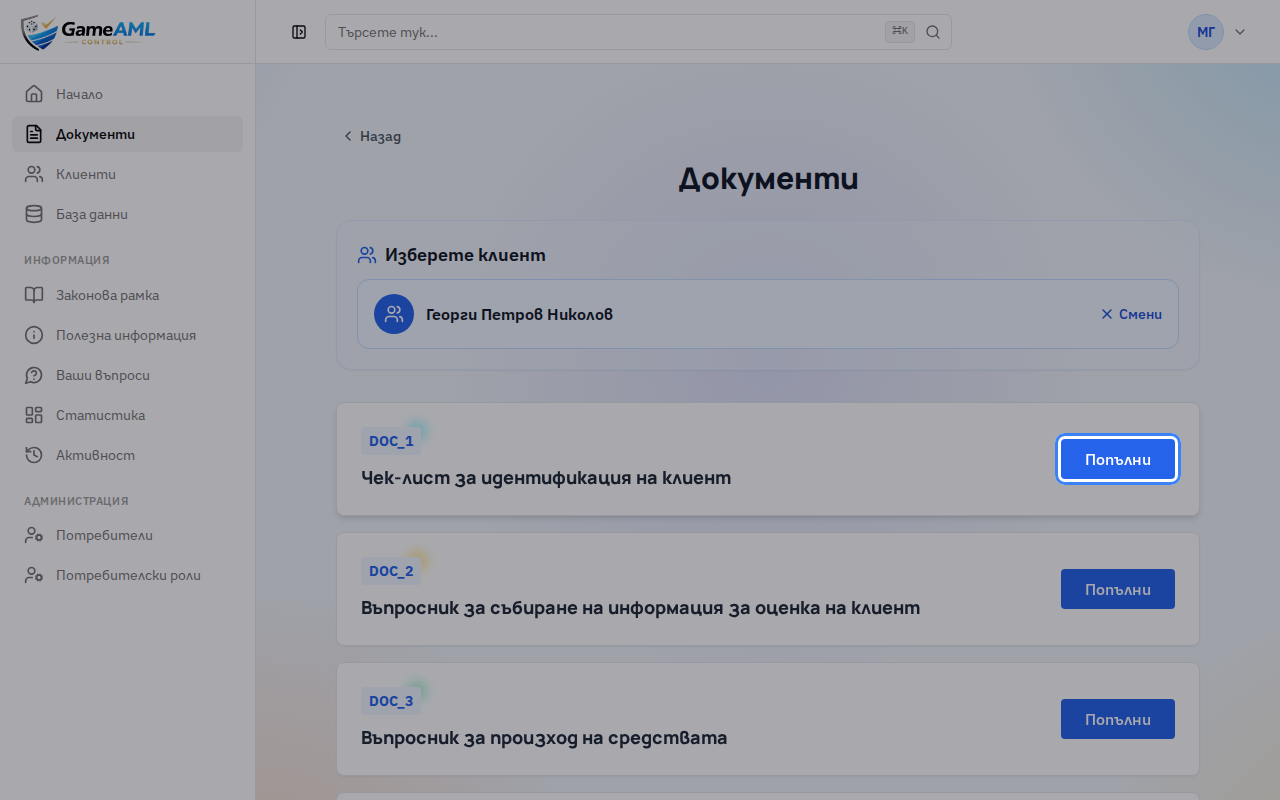
5A check is made up of several documents. Start with DOC_1, the customer identification checklist, and click “Попълни” (Fill in).
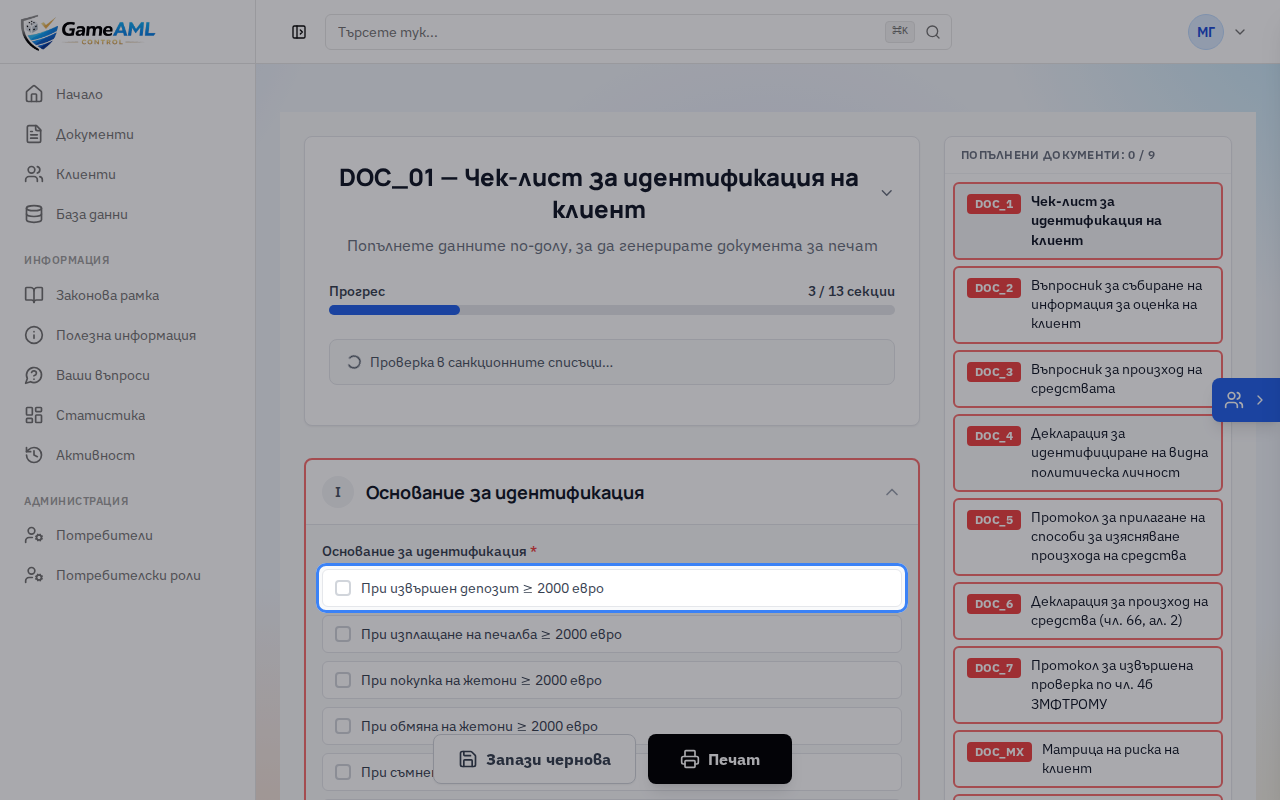
6The customer’s and the hall’s details are filled in for you. Tick the reason for the identification.
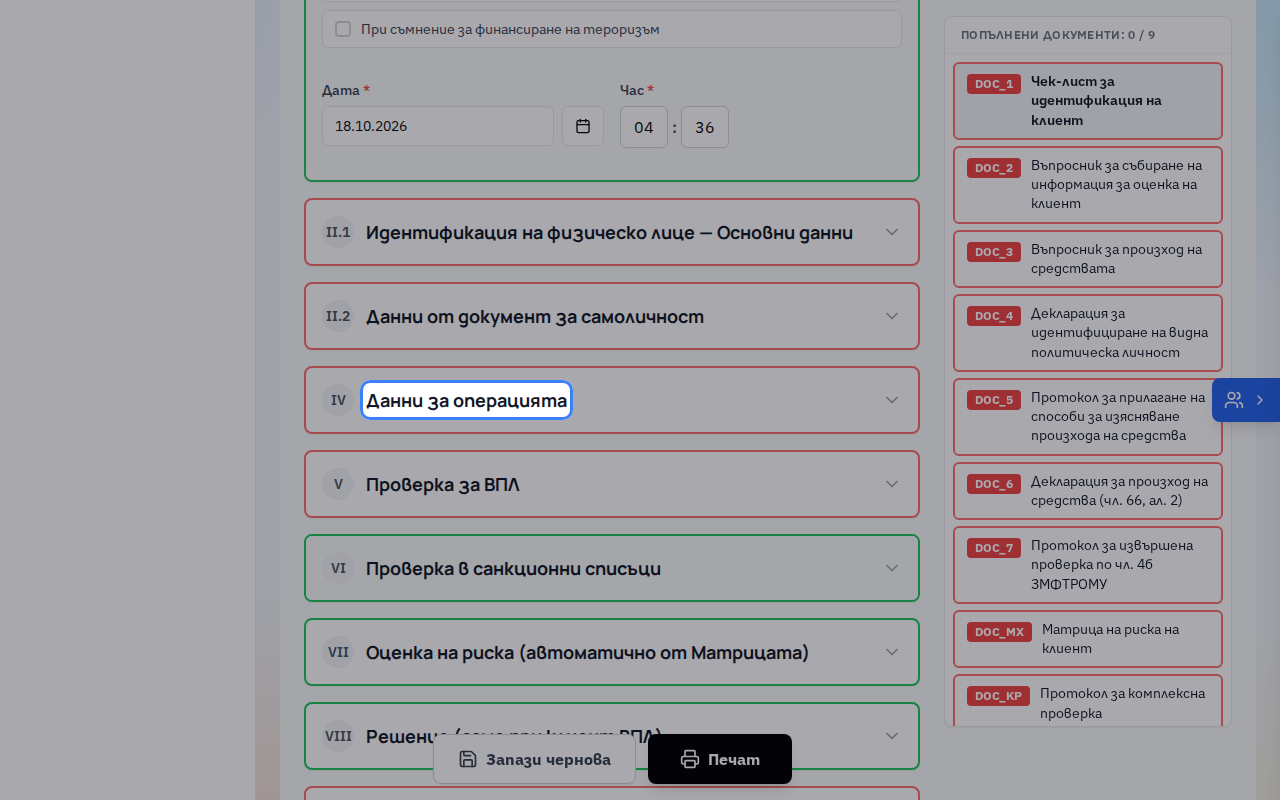
7Open the “Данни за операцията” (Transaction details) section.
8Choose the type of transaction.
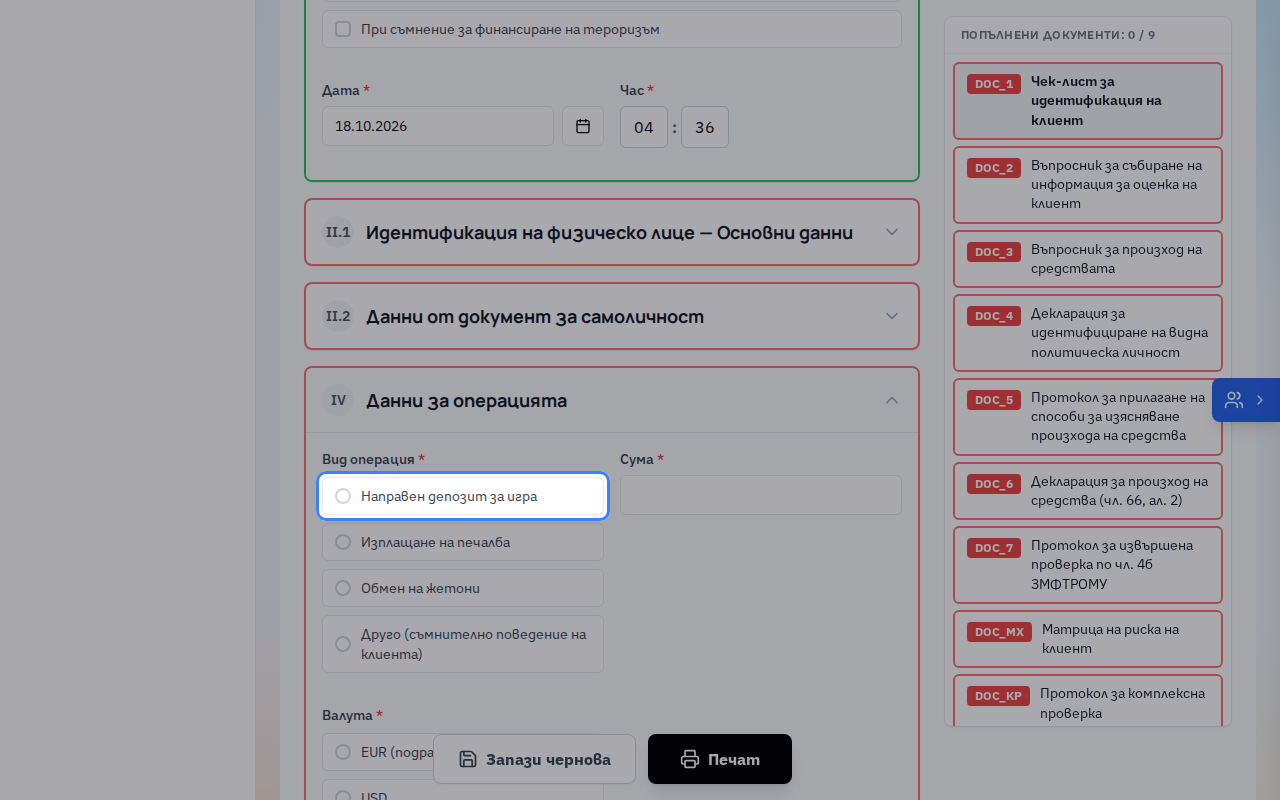
9Enter the amount. The currency defaults to euro.
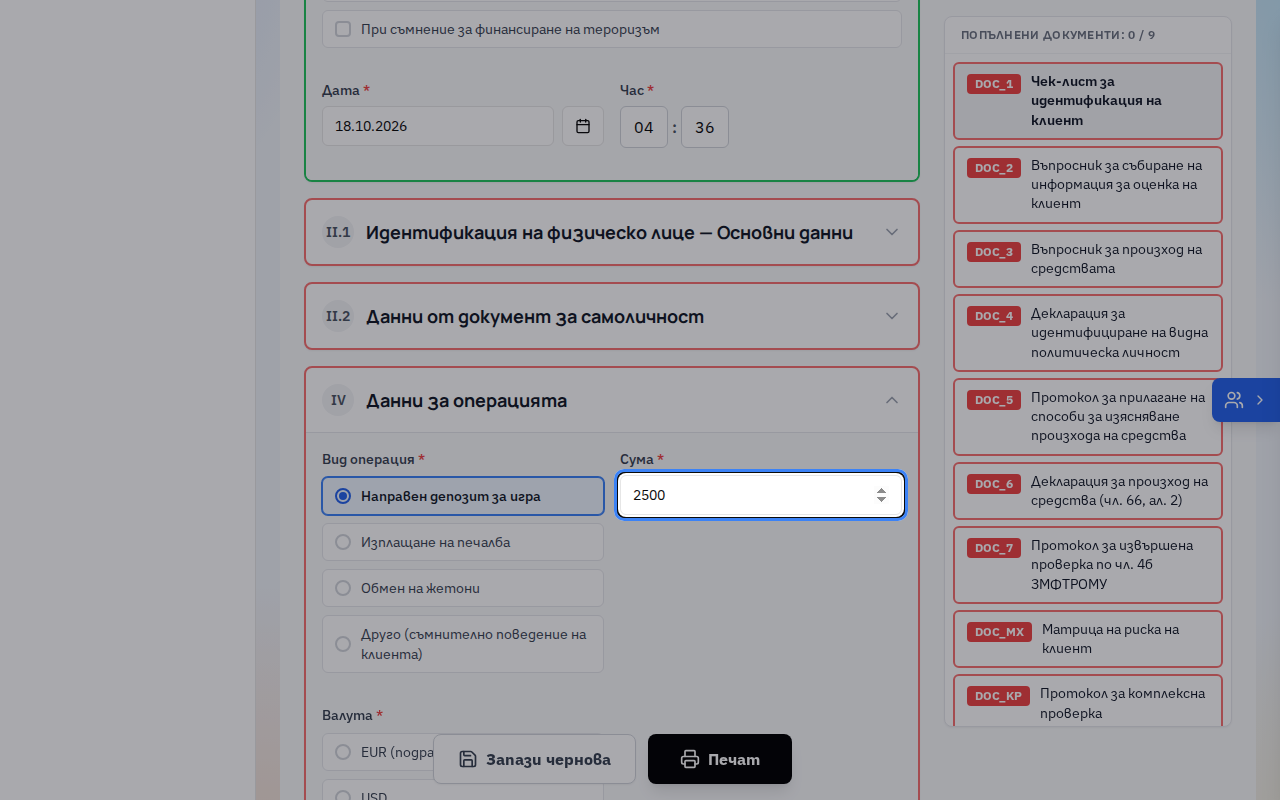
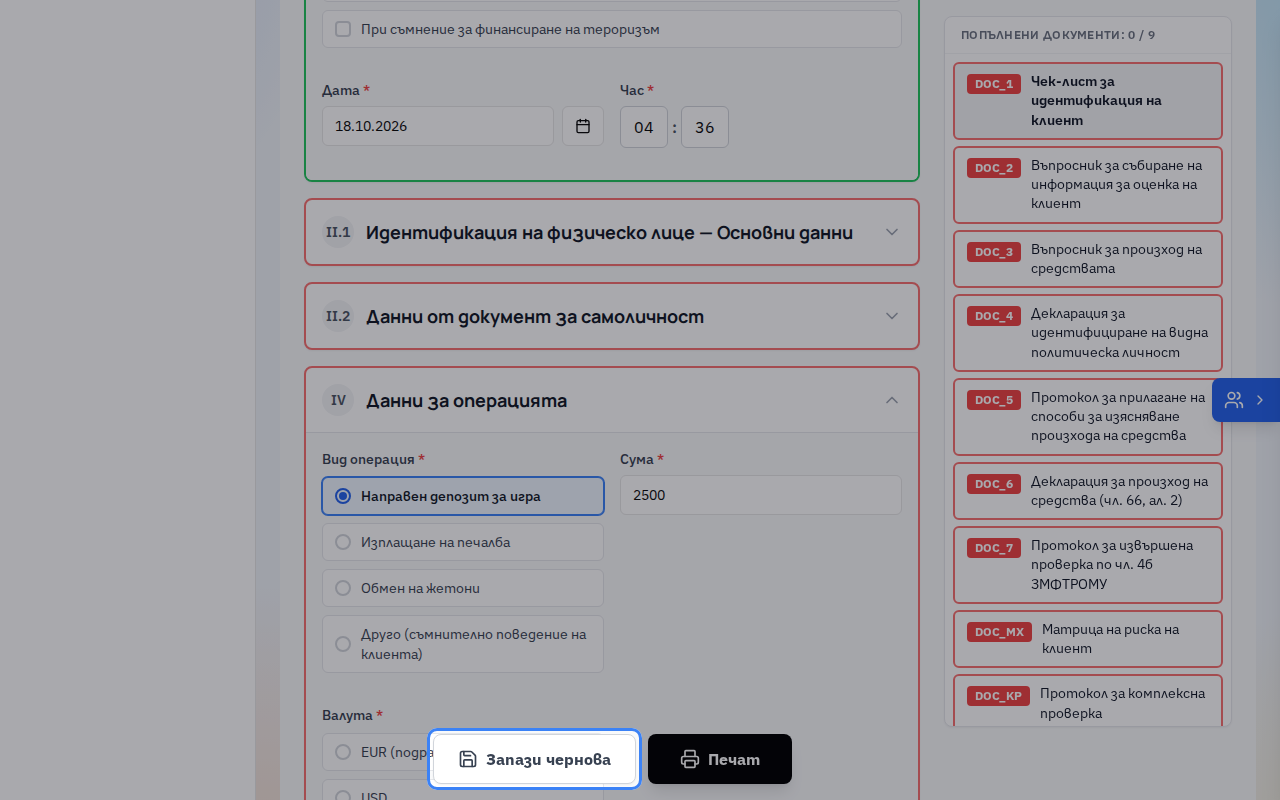
10If you will finish later, click “Запази чернова” (Save draft). Drafts are kept in the archive for 3 working days.
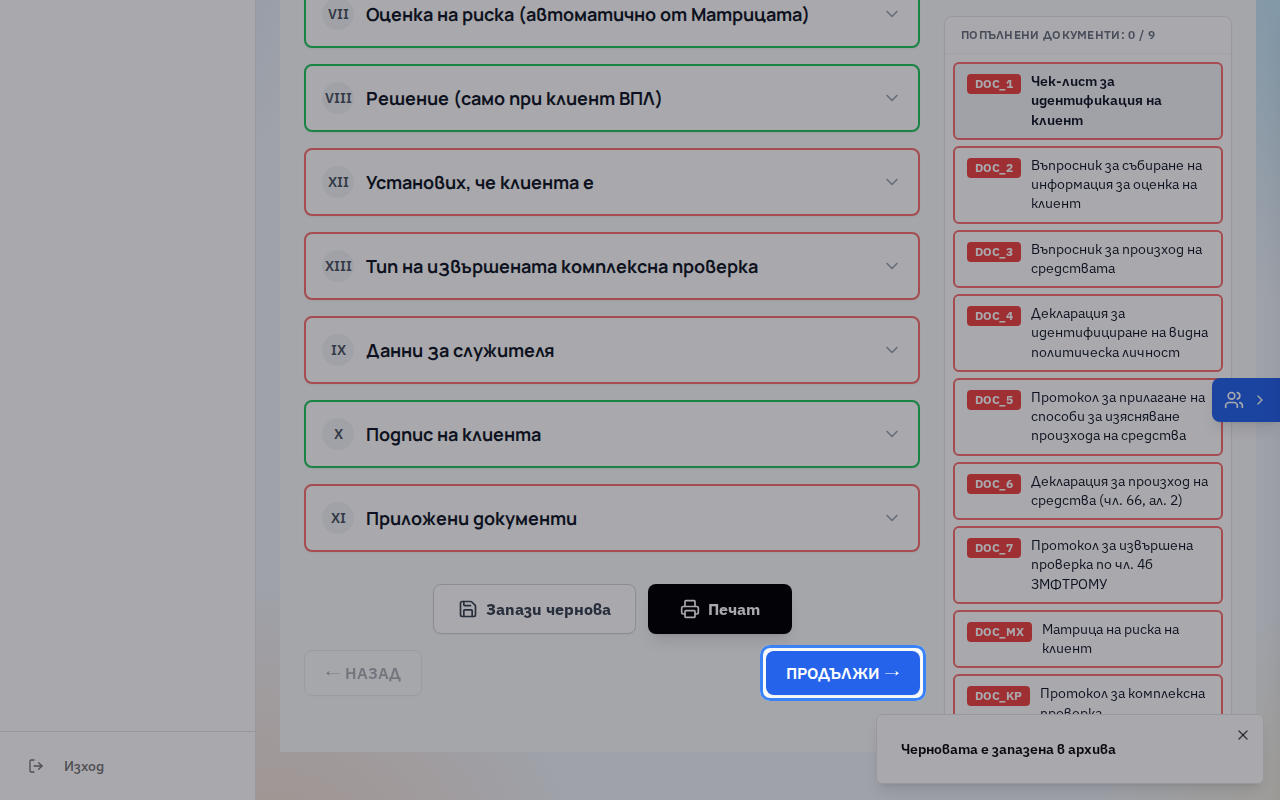
11“Продължи” (Continue) takes you to the next document. Fill in every document this way, then click “Печат” (Print) to print and file them.
Progress of the check
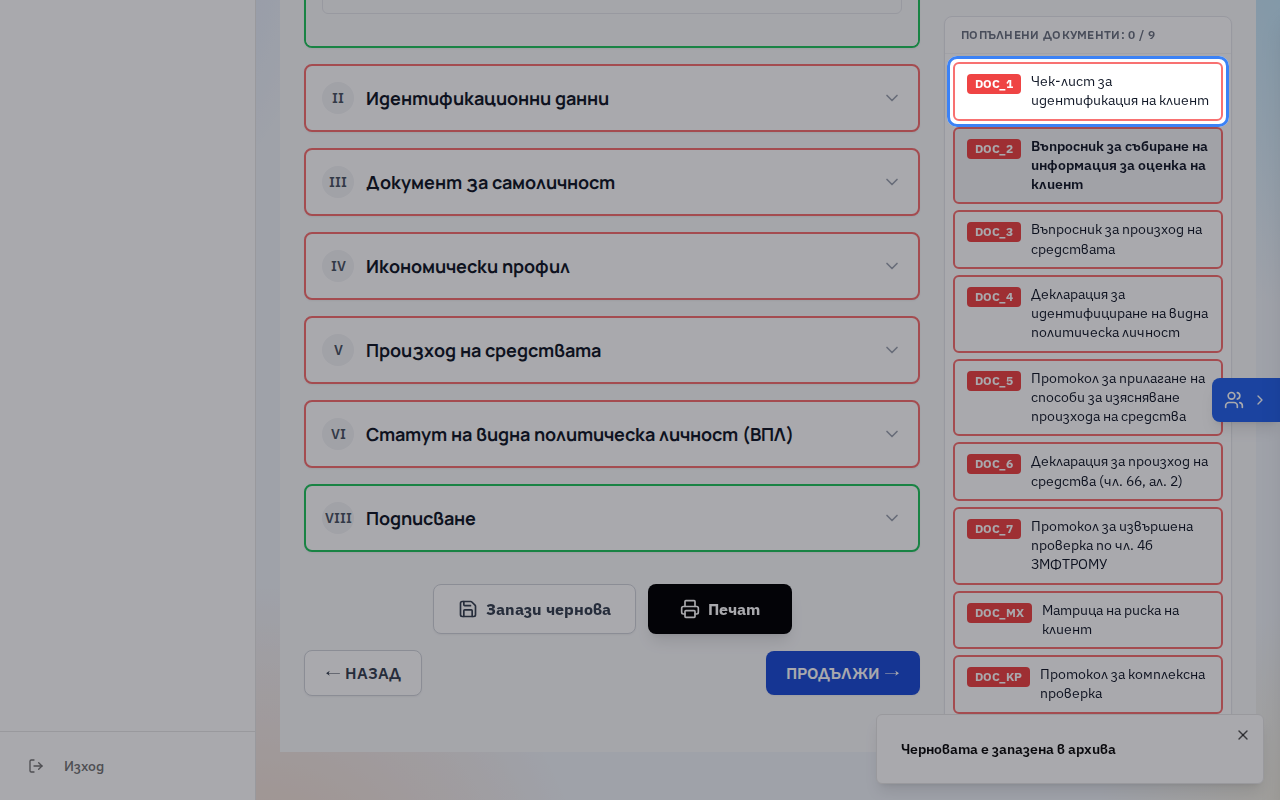
12On the right is the list of every document in the check. At the top you can see how many are filled in, for example “Попълнени документи: 0 / 9” (Documents filled in).
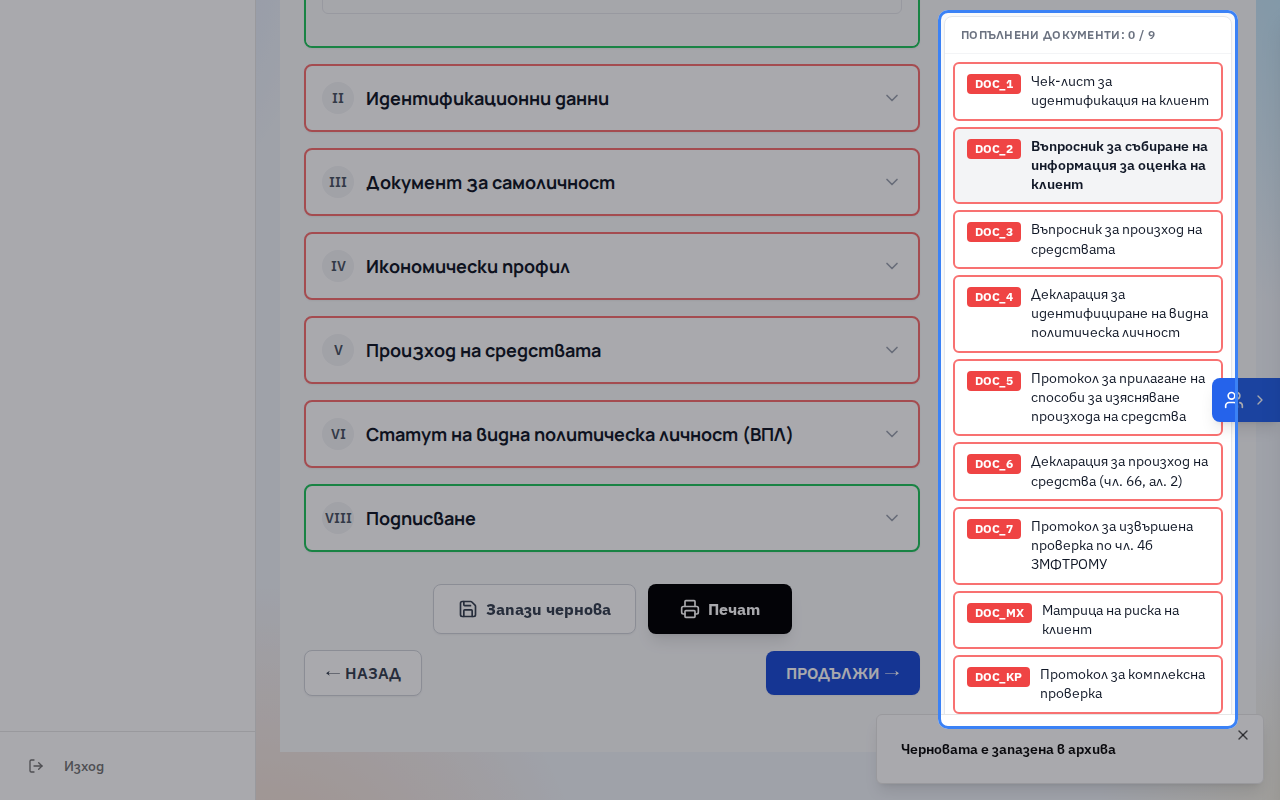
13The document you are filling in now has a grey background and bold text. A red border means the document is not filled in yet.
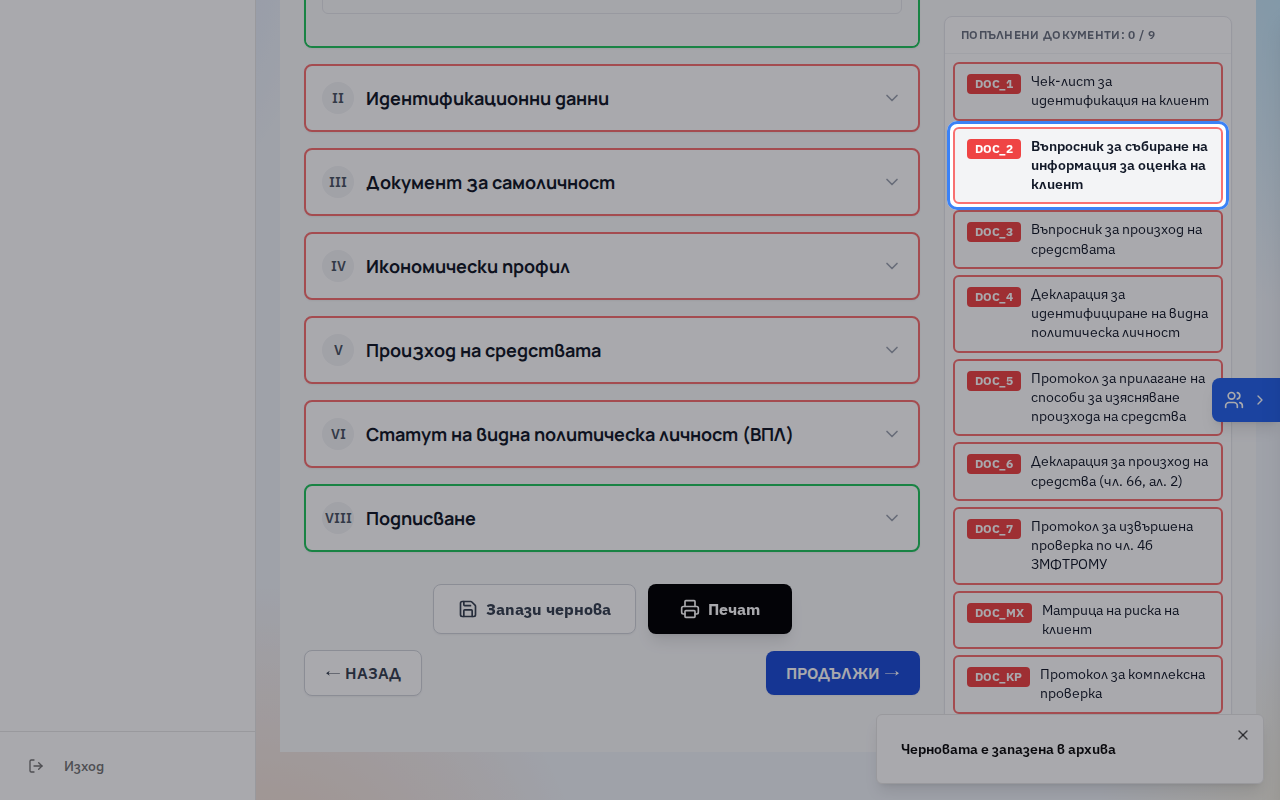
14Click a document in the list to go straight to it. For example, this takes you back to DOC_1 without going through the others.
More lessons
Lessons are recorded and checked automatically in the live product, so they always show the current screens.